Pages

Showing posts with label Baby. Show all posts

Friday, September 23, 2011

baby love, day 5: knitted blanket and wrapping up...literally

Phew!  Last day of baby love!  If you're just checking in, this week I'm showing off the gifts I made for my SIL who is having a baby soon.  Here's what you missed:

Day 1: Embellished Tops and Embroidered Ornaments
Day 2: Diaper Clutch and Burp Cloths
Day 3: Eye Mask and Clothing Labels
Day 4: Dress, Hat and Bloomers


Today is a knitted blanket.  I had to throw something knitted into the mix.  I was going to make a knitted summer hat as well, but being that the family lives near Miami, I don't think a knit hat would get much use.  So instead, I went with a white version of the blanket that I made for my own little Monkey.


I decided to go with a soft, washable and dryable yarn since baby things always seem to be in the wash.  I went with white because it's what I already had in my stash.  [Did you catch onto the stash-busting theme going on this week?  I love how many things I was able to 'shop' for in my existing stash!  My serious fabric and yarn buying obsession comes in handy when money is tight and I want to make nice gifts.  I already have a huge 'store' to pull from!]


And now that I've got all these gifts to send, I need to wrap them up.  I love natural and reusable wrapping.  I always love getting a gift with wrapping I can save to use again for something else.  I had a bunch of vintage sheet scraps I got in a scrap pack online a while ago, and they all turned out to be the perfect sizes for my handmades.  I kept everything really simple.  Of course, if I had all my rubber stamp supplies I would have gone crazy on the gift tags.  Since I didn't, I just played with my new Pilot Hi-Tec-C pens and doodled on the tags instead. *cheese*


I layered everything gently in a box, and then surrounded it all with wrapping tissue.  Then, for fun, and something for the new daddy-to-be, Mr. R gave me some newspaper highlights to stuff into the empty spaces.


And lastly, a card.  It was the first time I've stitched on paper I think, and it was quite fun!

Whew!  That's a lot of baby goodies!  I hope you've enjoyed this week of baby love.  I can't wait to meet my new niece, even if it is over Skype!

Thursday, September 22, 2011

baby love, day 4: dress, bloomers and hat

It's day 4 of baby week here on Scooch Monkey!  Up today is the cutest of baby outfits.  As I have two boys, I don't have many patterns for girly things at my immediate disposal.  Luckily, I have purchased a few books of projects that also contain girl patterns.  My favorite being Amy Butler's Little Stitches.  I just love this little dress and bloomer set.  This was one of the first things on my project list when I put together this baby love set.  I even chose to use Amy Butler's fabric from the Soul Blossoms line.  She is my favorite fabric designer, after all. 


This one started out as a sewing fail.  Well, not a sewing fail really; more like a style fail.  It's quite evident that I'm just getting back into the swing of sewing, as I forgot to fussy-cut the fabric (english: line up the print on the fabric with the pattern).  You can see what I mean in the above photo, the circles aren't centered, and the pattern in the skirt isn't centered.  In the end though, it turns out that I didn't even care for these two color schemes together anyway.   Luckily, this was fabric I bought just for this dress, not something pulled from my stash, so I was able to order more.  Speaking of buying fabric, some designers are really really hard to find in England, so I end up ordering a lot of fabric from the States.  The original dress is still pretty cute, and might show up at a discount in my Etsy shop if I can ever get it up and running.


I really love this little dress.  So many nice details.  The skirt is lined and the bodice is faced.  There is elastic in the back to help it fit better.  I took extra care to make sure all the edges were finished off nicely.  I serged all the exposed inside seams (which is SCARY! see note after jump about my serger issues).  And see how the fabric print is all nice and centered now?  Muuuch better.


The only place I altered from the pattern was with the snaps.  The pattern called for buttons, but I just love using my snap press, and since I chose to lug it all this way in the move, I decided to use it.  I really like the way the snaps look too.


The bloomers and hat turned out lovely on the first try; except for that silly butterfly, but more on that later.  I made a smaller size of the bloomers previously, and remember something about the elastic lengths being way off.  Too much in the top and not enough in the bottom, or something like that.  I didn't have that problem this time.  Everything looks about right to me.  Not that I would really know, having two boys I don't have much experience with bloomers.


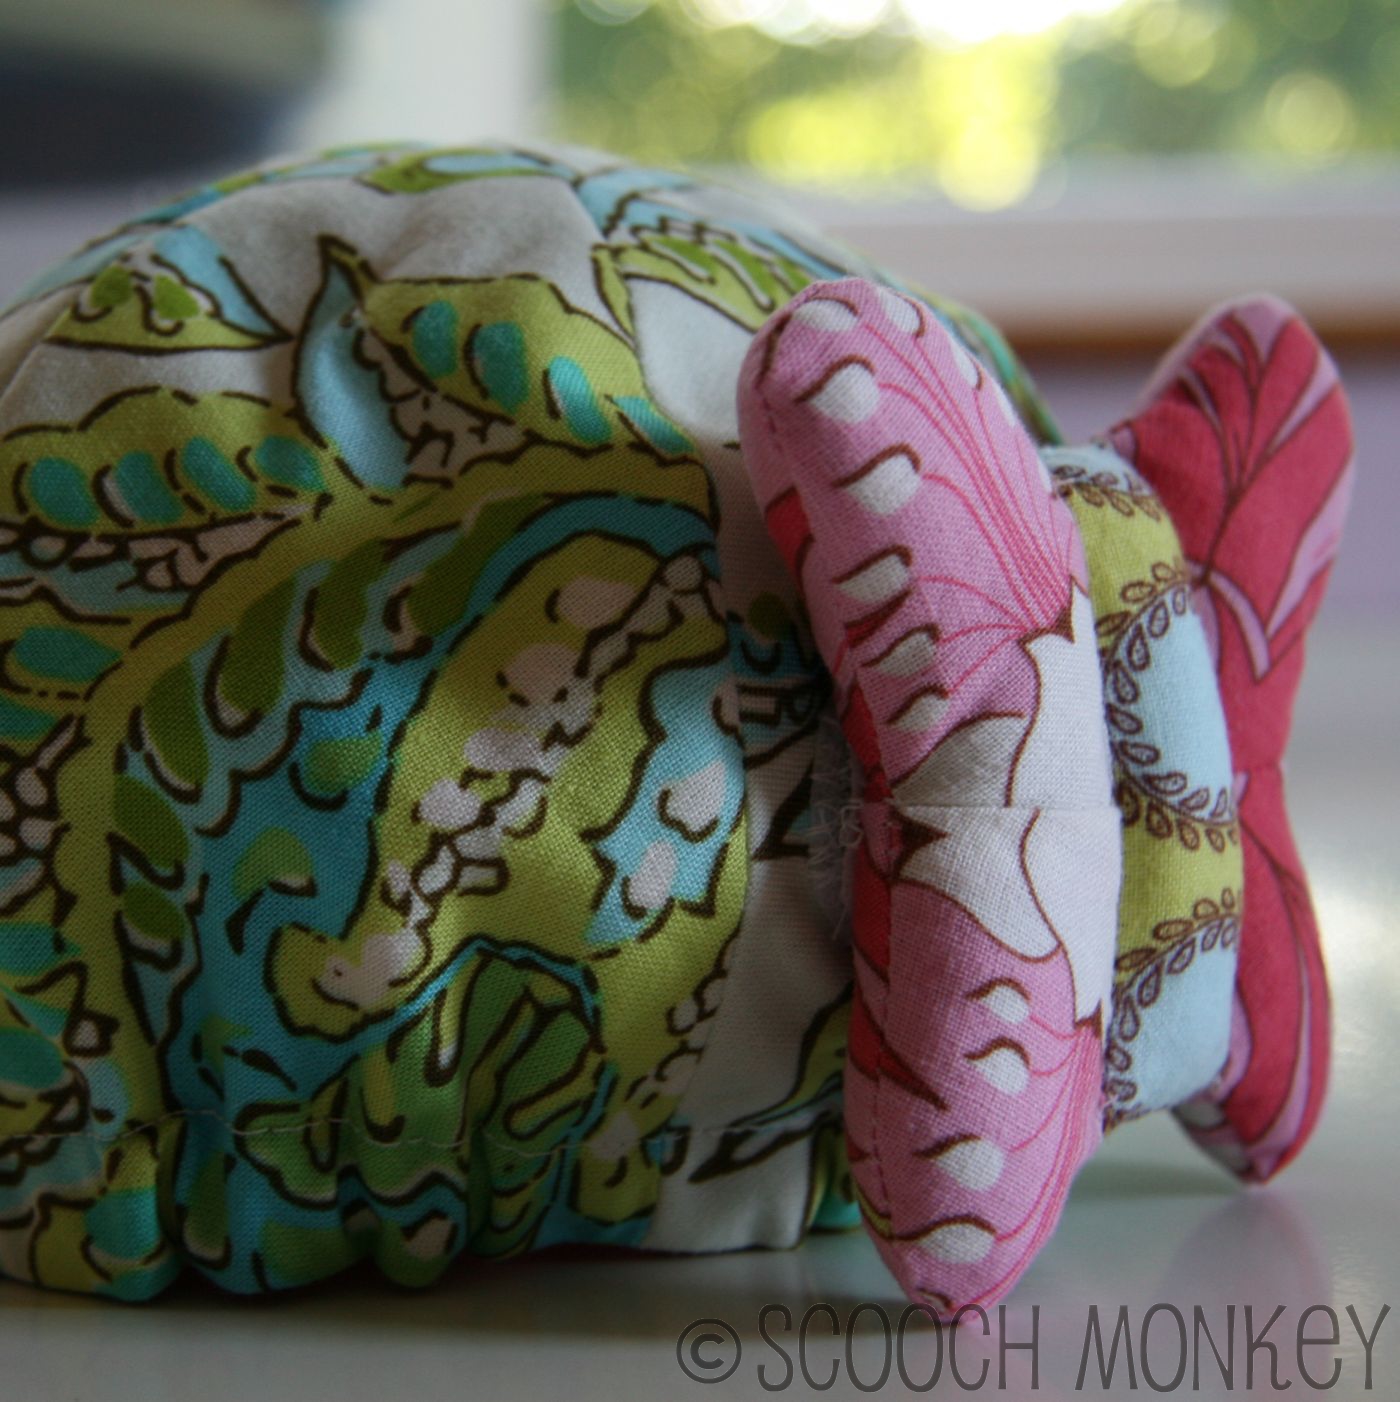
This little hat is cute, and I'm so glad I figured out a way to sew the points where they all line up perfectly!!  I might just have to do a tutorial on that actually...  The butterfly isn't my favorite, but I think the biggest reason for that is because I put the wrong side of the velcro on the butterfly portion.  Have you ever tried to stuff toy filling through an opening flanked with velcro (the scratchy side)??  Oy!


Tomorrow is the final day of Baby Week.  I hope you've enjoyed it as much as I have.  I'll do a review of the week and I'll show off the final piece (a baby blanket), and show how I wrapped it all up to send off to my family.

Wednesday, September 21, 2011

baby love, day 3: relaxing eye mask and clothing tags

This week is all about the baby gifting.  My SIL is having a baby, maybe now!, and I wanted to spoil my new little niece the best way I know how: handmades!


Today's gift is all for Mum though.  Time to relax is hard to come by as a mum, and when you add to the number of children you have, that time gets even more precious and hard to find.  So, to help make the most of those fleeting moments, I made the eye mask from Sew Liberated.  I used bits of satin I had leftover from a 30's style dress I made several years ago, and several other scraps.


The pattern called for flax seed, but I could not find flax seed here in the UK.  I ended up using something that can be found in great abundance here, lavender.  There are so many lovely lavender farms here, and what better way to relax.  Since my big bag of lavender arrived, I've been really enjoying walking into (and staying in) my studio.  It's one of my favorite scents.


I didn't care for the design on the eye mask in the book, so I came up with my own, which I quite like.  I actually hand-appliqued this too.  I was afraid I would really mess it up on the machine with such small curves, so I did it all by hand.  I don't have any thimbles here (I have no idea how they could have become separated from the rest of my sewing gear in the move, but hopefully they'll turn up again someday), so I ended up with a really raw finger by the time I was done, but worth it!


You've been looking at photos of tags with my new logo all week, and I said I'd let you know how I made them.  It's really quite simple!  A friend of Mr. R made the logo for me (Thanks, Pete!), and I took the image, shrunk it in GIMP (which is free) to the size I wanted (you could also use Picnik).  Then I created plain old address labels in MS Works (yea, I can't even afford MS Word).  Paste the image in the label, finagle the spacing a bit to get the image where you want it.  After some thought, I bet you could do this in a spreadsheet too, and perhaps have even more spacing flexibility.  Next, print it out on printable fabric.    I used Crafter's Images Silk Habotai that I found here (scroll down to find it).


Here's my take on THIS particular fabric (forgot to take photos of the process, sorry).  I've never used any other so the following is specific to THIS brand.  I think it's a great tool for crafts that you will not wash.  The fabric is super soft and lovely and sews surprisingly easily.

I test printed with regular settings, and then with photo settings.  The photo settings bled a great deal more than the regular, general/everyday-use printer settings.  I let the fabric dry over 24 hours.  It's not necessary to wait this long, but since the labels will be put on things that will be washed, I wanted to let the ink set for as long as possible first.  When the ink is dry, peel off the paper backing.  I thought this would be hard since there is no tab or corner left to grab onto, but the fabric separated from the paper quite easily.  Then you rinse the fabric to get the excess ink off and to pre-shrink the fabric.  The fabric frays a little when doing this, so I recommend not cutting up your tags until after this step.

After rinsing I dabbed the fabric between some paper towels, and then ironed dry.  I used my rotary cutter to cut them to the sizes I wanted, then pressed the edges over, and sewed them into the pieces I made.

Now here's the tricky part.  This fabric states that it's washable.  That was something I specifically looked for when choosing a printable fabric.  However, it's only hand-washable.  Several online shops that carried this fabric didn't mention that.  So I tested it myself, and here are the results:
Warm wash, normal agitation: all colored ink is washed out, black ink remains
Cold wash, normal agitation: colored ink faded slightly, black ink still crisp
Cold wash, gentle cycle: colored ink barely faded, black ink crisp

So, with normal use, the labels won't last long.  Luckily, this batch of labels is going to family, and I think they'll be able to remember who made them.  Looks like I need to save my pennies in order to purchase the woven labels that I've had my eye on for months now.


Update: Since first writing this, I decided to try facing the labels.  This time I didn't rinse the fabric after the ink had set.  After peeling off the backing paper, I ironed the entire sheet with a steam iron on high - you'll see the sheet shrink up a good bit when doing this.  Then I ironed on some lightweight fusible interfacing on the back.


It really helped to keep the labels from wobbling around when cutting them, and made it easier to press the edges under.  It did take a little away from the beauty of the silk, but they're still soft and pretty.  I haven't tried washing any yet to see if the interfacing helped with the colorfastness issue, but I'm guessing it didn't.


Anyway, it's a good cheaper alternative to the pricey (yet very lovely) woven labels that I will continue to swoon over until I can own my very own. *smile*

Tomorrow: dress, hat and bloomers

Tuesday, September 20, 2011

baby love, day 2: diaper clutch and burp cloths

More baby gifting today.  My SIL is having a baby any day now, and now that they've received their goodies, I can share them with you all!


I made a diaper clutch from a tutorial I found here.  Nice and quick and simple.  I would have changed a few things about this if I was making it for mysef, but you never know how someone else will use it, so I left it as is.  It pained me to cut up my beautiful Amy Butler fabric for something that will carry diapers, but I'm glad I did, it's so pretty, don't you think? *grin*  The inside is a striped fabric I had leftover from my laptop sleeve I made about a year ago.


Another thing I LOVE about my new sewing machine (sorry, I just canNOT stop talking about how great it is) is how well it handles sewing over uneven materials, like velcro.  The stitching is so even and tight and lovely.


This was probably the biggest splurge I made, for something that's going to wipe spit-up and drippy chins and noses...  hmm...  I couldn't resist though.  Every little girl needs to know about The Princess and the Pea.  I used Rae's tutorial here, and used Heather Ross's Princess and the Pea fabric from her FFA line.  The other side is a super soft knit I had leftover from making baby wipes for my son.


Super quick, super easy, LOVE the result.  And, since I was afraid the knit would pull and result in puckers, I used the walking foot on my sewing machine.  Whoa!  If this hadn't come with my machine, I might not have bought it yet (even though it was on my wish list), and that would be tragic, because it is a wonder-tool!  Everything stayed nice and flat with no stretching or puckering in sight!  I might never go back to a regular foot!  Okay, so I have already, but this foot is amazing!


On deck for tomorrow:  eye mask and clothing tags

Monday, September 19, 2011

a week of baby love, day 1: embellished tops and ornaments

My sister-in-law is pregnant with her second girl (and about to give birth!), and I was so excited to get to put together a package of handmades to send to her.  I think I went a little overboard, but it's not every day that I become an Aunt!  [The first time was when I got married and acquired a brother, sister and niece all in one day.]  I even created a board on Pinterest where I collected ideas for a few days before settling on a set of gifts and diving in.  Instead of dumping everything into one huge post, I decided to break it all up over a week.  Today I'll show you some embellished tops and ornaments.


I embellished some simple shirts for the baby and her big sister.  I've seen this idea all over, but I never would have attempted it with my old sewing machine as it's only speeds were fast and insane.  I never would have been able to maneuver those tight curves without hand turning the whole thing.  I did a big R for big sister, and a little r for baby.  I could have done this without a pattern or instructions, but I did briefly glance at the instructions in this book to make sure I was on the right track.


I was a little worried about the rib knit on the big girl top, but it turned out quite well I think.  I used fabric that I had in my stash already.  The purple print might actually be considered vintage, as I think it's from the long-gone days of country rabbits.  I used to make those flop-eared muslin rabbits for every. one. I. knew.  We're talking probably 20 years ago.  The fabric on the big R is from a top I was going to make for myself, but never did.  That seems to happen a lot...


And see those little tags there?  That's my new logo!!  I'm so excited about it!  I couldn't afford to have real labels made yet, so I made my own.  I'll talk about those more in one of the other baby posts this week.


Next up are the ornaments.  They're the adorable birds from Last Minute Quilted and Patchwork Gifts.  I made these for new(-again) Mum and Dad, using the same fabric as for the tops; and embroidered the girls' initials on each one.


I was nervous about these because I tend to have difficulty with fiddly little projects coming out all wonky and crooked.  These came out looking quite nice I think.  The only regret I have with these is the stuffing.  I have terrible trouble stuffing things.  Everything turns out lumpy and bumpy no matter what I try.  Any suggestions on that one?  Other than that, I'm quite happy with these.  The embroidery even turned out pretty well, which was surprising since I haven't embroidered anything in... um.... years.


Up tomorrow: Diaper Clutch and Burp Cloths