Pages

Showing posts with label Sewing. Show all posts

Thursday, December 8, 2011

She lives!

I've said more than once that I can't believe how time gets away from me.  I opened an Etsy shop and then fell off the face of the earth; or so it seemed here among the cobwebs on my blog. The shop has done quite well actually, mostly selling e-reader cases made-to-order. They've been quite popular! Check them out. Then a few rounds of colds and a couple weeks with Mr. R out of town, then a few more rounds of colds, an extra day at preschool each week, and a weird two-day rash all brings us to the beginning of December already.


And now the mad rush to complete all my projects by their own respective deadlines begins! I need to have all my machine sewing done by the time my family arrives (7 more days, hooray!) since either they or Scooch are taking over my studio. Then I have a few hand sewing projects I'd like to try. I'm hoping to don our tree with a bit more than a string of lights and two ornaments this year.

I have been able to squeeze a few selfish projects in the mix these past couple months.  Shannon on luvinthemommyhood had a cowl knitalong, and after reading about it for a while, I just had to knit one up myself.  I went with the Stockholm scarf that I found on Ravelry.  It was a relatively quick knit, and I wear it all the time; around the house, to the park.  Scooch even crawls up under it so we're both wearing it. I'm not crazy about the colors, but they're what I had on hand, and it's warm.


Now, I know I've complained about our laundry situation here a time or two. Ahem. Lucky for you, that complaining was on the blog that my family reads. Aside from not being able to get soft laundry (no dryer, hard water, don't use fabric softener, etc), our washer has a tendency to turn things grey. I'm not talking just a dirty tinge. I'm talking nasty dark grey. For example, Monkey's washcloths. They are white with colored bindings. I only use them to wash Monkey in the bath. They come out of the wash white around the edges, and almost black in the center. So nasty. You'd think I scrubbed Mr. R's tire rims with them. So, some new washcloths were in order. I plan to make a tutorial for these at some point, but for now, here's the finished product.


I have some other things in the works as well. Here is my To Do List which must be completed, at different intervals, by December 24:
  -Complete a certain pair of stuffed items for two boys for Christmas
  -Make stockings for said boys
  -Finish any custom orders from Etsy (currently 2)
  -Make a sweatshirt for Scooch
  -Make ornaments for our mini tree (all of our holiday decor is in storage in the US and last year I was too deep in post-baby-sleep-depro mode to care)

Oh, and I forgot to add that, along with that list up there, we're going to Scotland for a few days right before Christmas, and Mom and I are baking half her usual load of goods once they arrive. Even half her usual load still means we'll be baking from sun-up to sun-down from the moment she arrives until at least Christmas day. Busy busy busy! I love busy for a change.

And this is something I'm thinking of for future blog posts. Instead of one a day, maybe one a week. Not sure yet whether I want to be that personal on this blog. Several of these are pretty can-of-worms type topics and I don't know that I want this blog to be that.  I might just play around with the safest topics.

Monday, October 17, 2011

FO and Book Review

I finally got back in the studio for the first time in almost two weeks.  No sewing for the shop this time.  Scooch desperately needed a new fall coat, and I had my eye on one I knew he would like.  It just happened to be in the new Sewing For Boys book; the book I won a copy of from Sew, Mama, Sew! during the book's blog tour.  Cute boy clothes patterns are a rare commodity, and to have a whole book dedicated to our little bug-hunting, tractor-loving, sticky fingered rascals is just bliss!  I chased the blog tour, entering every giveaway along the way.  I almost did cartwheels when I won!  Then I had the long wait as it was shipped from the U.S.  When it finally arrived, I got right to work ordering the fabric for the things I wanted to make first: the Luka Hoodie and Paulie's Pullover.  Then I had to wait again for the fabric to arrive *sigh*.  The hoodie fabric arrived first:


With fabric finally washed, dried, pressed, and cut; it took me part of just two evenings to complete the Luka Hoodie.  I used brown baby wale corduroy that I ordered online from Germany for the majority of the hoodie, and then I used the adorable owl print from the Urban Zoologie line from Ann Kelle for the front and secret pocket.  The lining is a brown knit which I wouldn't use again for something like this.  The pattern called for less than 10% stretch.  I couldn't find anything about the amount of stretch in this fabric when I ordered it, and it ended up having far too much stretch.  Luckily, my walking foot saved the day, and the hoodie.


I love this little jacket.  For reference, Scooch just turned three, and store-bought size 3 tops are a tiny bit big on him just now.  I made size 4/5 of the hoodie because I wanted him to get good wear out of it.  It's quite big on him now, but he LOVES it, which makes this mama super duper smiley.  I love that the hood has elastic in it instead of a tie, and Scooch got a big kick out of the secret pocket.  I think I can expect to find all sorts of 'treasure' hidden away in there in the future...


Such a cute little design, and loads of potential for changing it up.  I kept my alterations minor this time.  I put slits in the side seams, changed up which fabrics I used where, and added a little flap behind the buttons to prevent drafts from getting in.  Oh and yes, I still have to add buttons.  I wanted to see it finished before deciding, and I think I'm going to have to go with covered buttons.


Now for the rest of the book.  I just love this book.  The designs are adorable, simple and practical, and the patterns are straight-forward, and not fussy.  You really can make a whole wardrobe for your boy (or girl) with this book.  I'm not sure that I would recommend it for complete beginners though.  The instructions are more basic and there is not a lot of hand-holding with extra explaining and diagrams.  I really love how simple the designs are, leaving loads of room to be creative with them.  Just for starters, take The Henry Shirt; a cute, short-sleeved, snap front, collared shirt.  Replace the snaps with buttons.  Make it long-sleeved.  Use linen for a casual look.  Use shirting for a dressed-up look.  Embellish the front with pin-tucks or machine- or hand-embroidery.  Leave off the pockets.  Add extra pockets.  So many options and now I can't wait to make this top in many different versions!

Monday, September 26, 2011

i heart pouches

I finally finished the two pouches last week that I was making for myself.  I had to wait on zippers to arrive since I didn't have any in the right color.  It was nice because I had them all completed up until the zipper stage, so I was able to get them finished in about an hour each once I had the zippers.


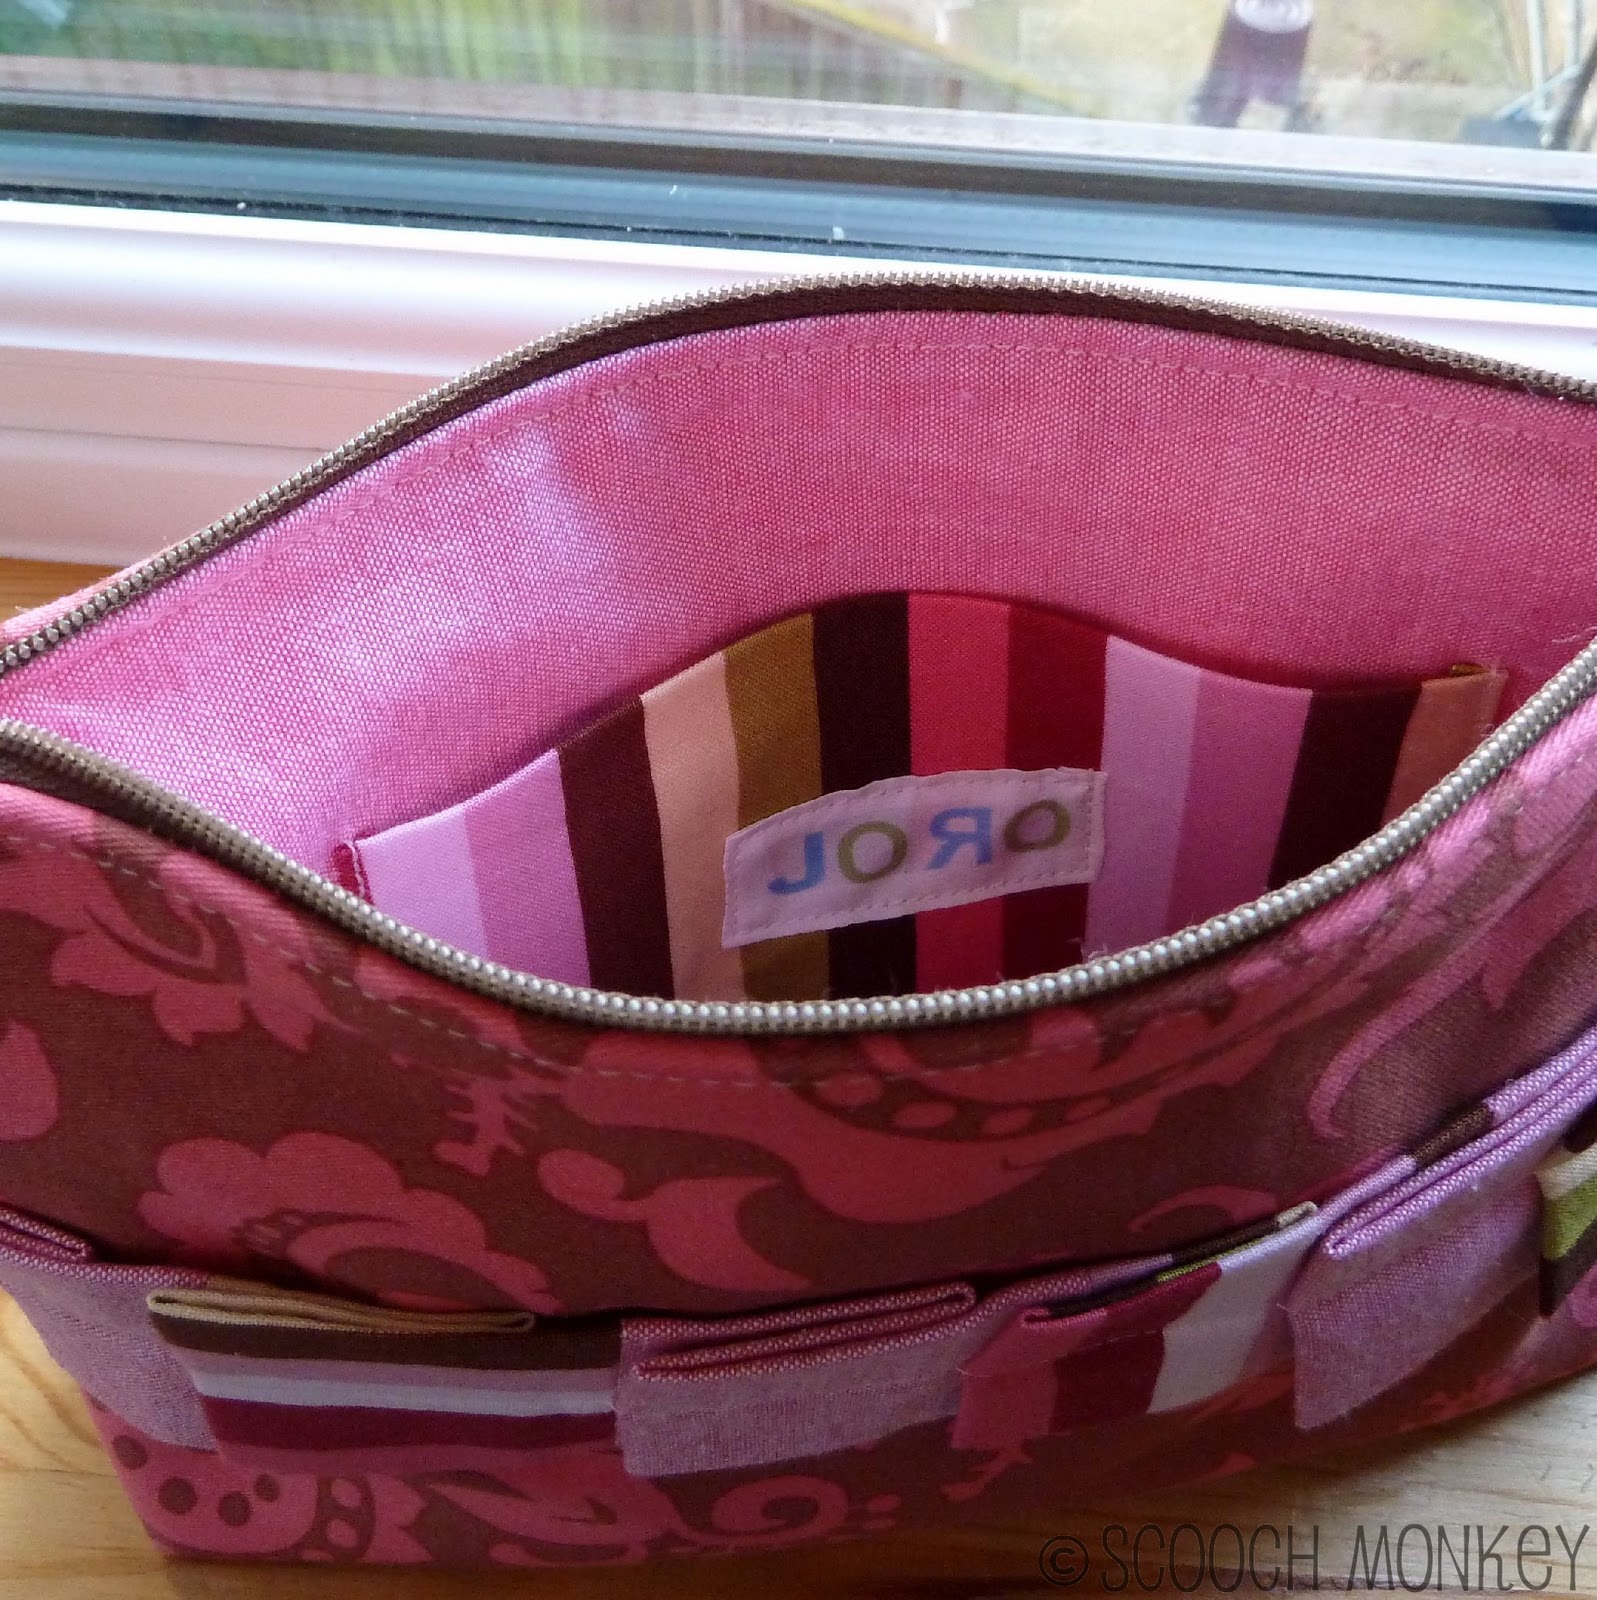
First up, the flat-bottom pouch by the split stitch in large.  I LOVE this bag.  Since I normally carry around a big diaper bag these days, I plan to carry this inside it with my own things (including the camera pouch) so I don't have to dig through the kids' stuff anymore to find something.  Plus it's so lovely that I could even carry it on it's own.  I showed it to my husband and he asked if the pleated panel was supposed to be uneven.  Um, yes.  However, now that I look at it, I should have made it more uneven so it really looks intentional.  Ahem.


Recognize that fabric?  I used the same Amy Butler print that I used for the diaper clutch I sent to my sister-in-law here.  The lining is, dang it, I can never remember what this fabric is called, maybe a chambray?  I snatched it from my mom's stash a while ago, and it's probably 10+ years old.  I love the weight it has to it, I might need to make myself a skirt or something with it...  The striped fabric is also the same fabric that I used on the inside of the diaper clutch.  I really liked how those two prints looked together.


To help keep it organized, I added pockets on each side.  One side has just a wide slot, and the other side has an ID slot and phone slot.


I didn't like the idea of attaching a strap to the zipper, so I added a side tab to attach my strap to.  This bag is the perfect size for what I planned on using it for, so I'm really excited to use it!


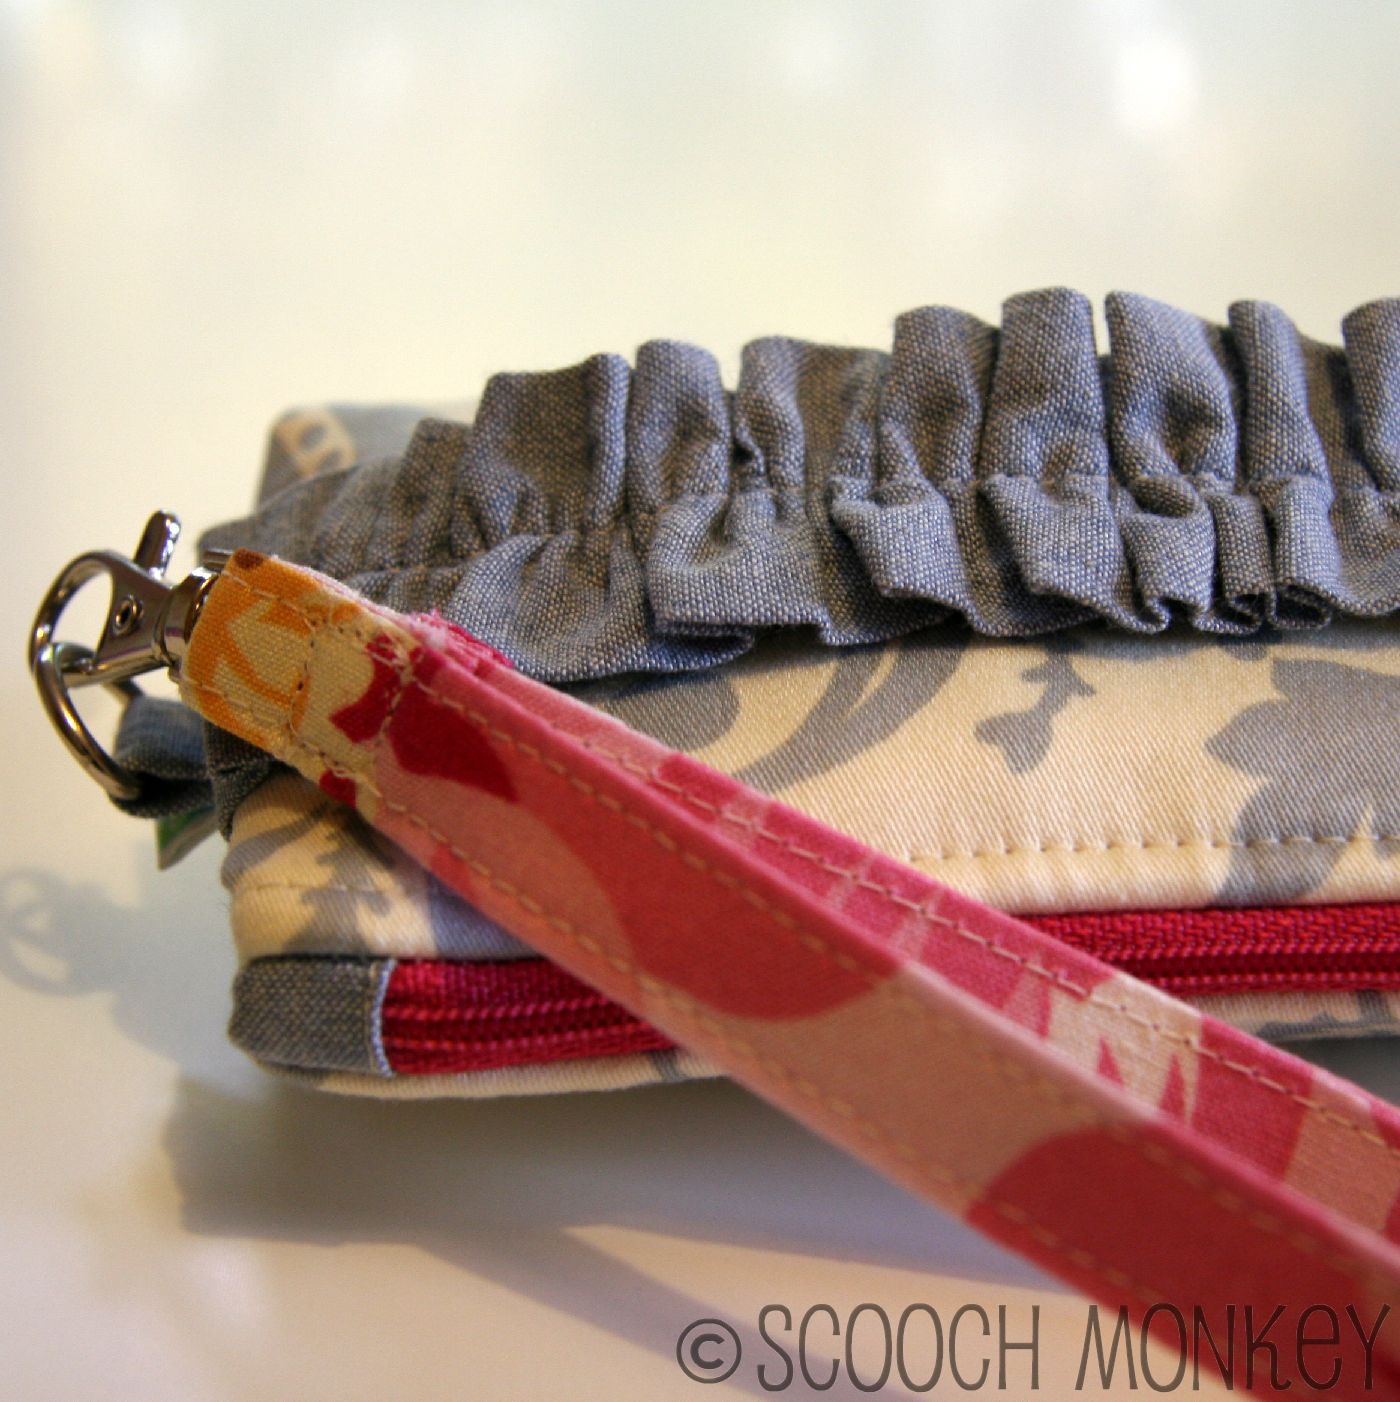
Neeext up is another flat-bottom pouch, but with the alterations I mentioned here to make it a camera pouch.  I used the same Amy Butler print as in the big bag above, but in a different color.  The inside and ruffle are a blue/grey chambray, and the wrist strap is scraps I had.


I made almost all of the changes I said I was going to make.  Instead of an interlining, I used fusible fleece.  The pouch still has nice body to it, but is a little more squishy to protect my Lumix from bumps.  I added slot pockets inside for two SD cards and an extra battery.  I meant to also include an elastic band for the card reader I use, but I forgot.  I also took about 2 inches out of the width of the pouch.  I couldn't have judged that any better.  My camera fits in the opening perfectly, I wouldn't have wanted it any narrower.


I added the side tab again for the wrist strap, which I love.  I might need to make another strap, if I have enough scraps, for my camera too!


And here's the camera pouch next to the original, so you can see the size change I made.  The only thing I didn't do, was supposed to be a surprise.  I was going to either embroider a little camera, or I was going to add a little iron-on embellishment, but I couldn't find a camera image like the one in my head, and the iron-on looked too busy with the ruffle, so I left it out.

This has all been great practice since these pouches will be showing up in my Etsy shop soon!  Those wrist straps will also be available for cameras and mobile phones.

Friday, September 23, 2011

baby love, day 5: knitted blanket and wrapping up...literally

Phew!  Last day of baby love!  If you're just checking in, this week I'm showing off the gifts I made for my SIL who is having a baby soon.  Here's what you missed:

Day 1: Embellished Tops and Embroidered Ornaments
Day 2: Diaper Clutch and Burp Cloths
Day 3: Eye Mask and Clothing Labels
Day 4: Dress, Hat and Bloomers


Today is a knitted blanket.  I had to throw something knitted into the mix.  I was going to make a knitted summer hat as well, but being that the family lives near Miami, I don't think a knit hat would get much use.  So instead, I went with a white version of the blanket that I made for my own little Monkey.


I decided to go with a soft, washable and dryable yarn since baby things always seem to be in the wash.  I went with white because it's what I already had in my stash.  [Did you catch onto the stash-busting theme going on this week?  I love how many things I was able to 'shop' for in my existing stash!  My serious fabric and yarn buying obsession comes in handy when money is tight and I want to make nice gifts.  I already have a huge 'store' to pull from!]


And now that I've got all these gifts to send, I need to wrap them up.  I love natural and reusable wrapping.  I always love getting a gift with wrapping I can save to use again for something else.  I had a bunch of vintage sheet scraps I got in a scrap pack online a while ago, and they all turned out to be the perfect sizes for my handmades.  I kept everything really simple.  Of course, if I had all my rubber stamp supplies I would have gone crazy on the gift tags.  Since I didn't, I just played with my new Pilot Hi-Tec-C pens and doodled on the tags instead. *cheese*


I layered everything gently in a box, and then surrounded it all with wrapping tissue.  Then, for fun, and something for the new daddy-to-be, Mr. R gave me some newspaper highlights to stuff into the empty spaces.


And lastly, a card.  It was the first time I've stitched on paper I think, and it was quite fun!

Whew!  That's a lot of baby goodies!  I hope you've enjoyed this week of baby love.  I can't wait to meet my new niece, even if it is over Skype!

Thursday, September 22, 2011

baby love, day 4: dress, bloomers and hat

It's day 4 of baby week here on Scooch Monkey!  Up today is the cutest of baby outfits.  As I have two boys, I don't have many patterns for girly things at my immediate disposal.  Luckily, I have purchased a few books of projects that also contain girl patterns.  My favorite being Amy Butler's Little Stitches.  I just love this little dress and bloomer set.  This was one of the first things on my project list when I put together this baby love set.  I even chose to use Amy Butler's fabric from the Soul Blossoms line.  She is my favorite fabric designer, after all. 


This one started out as a sewing fail.  Well, not a sewing fail really; more like a style fail.  It's quite evident that I'm just getting back into the swing of sewing, as I forgot to fussy-cut the fabric (english: line up the print on the fabric with the pattern).  You can see what I mean in the above photo, the circles aren't centered, and the pattern in the skirt isn't centered.  In the end though, it turns out that I didn't even care for these two color schemes together anyway.   Luckily, this was fabric I bought just for this dress, not something pulled from my stash, so I was able to order more.  Speaking of buying fabric, some designers are really really hard to find in England, so I end up ordering a lot of fabric from the States.  The original dress is still pretty cute, and might show up at a discount in my Etsy shop if I can ever get it up and running.


I really love this little dress.  So many nice details.  The skirt is lined and the bodice is faced.  There is elastic in the back to help it fit better.  I took extra care to make sure all the edges were finished off nicely.  I serged all the exposed inside seams (which is SCARY! see note after jump about my serger issues).  And see how the fabric print is all nice and centered now?  Muuuch better.


The only place I altered from the pattern was with the snaps.  The pattern called for buttons, but I just love using my snap press, and since I chose to lug it all this way in the move, I decided to use it.  I really like the way the snaps look too.


The bloomers and hat turned out lovely on the first try; except for that silly butterfly, but more on that later.  I made a smaller size of the bloomers previously, and remember something about the elastic lengths being way off.  Too much in the top and not enough in the bottom, or something like that.  I didn't have that problem this time.  Everything looks about right to me.  Not that I would really know, having two boys I don't have much experience with bloomers.


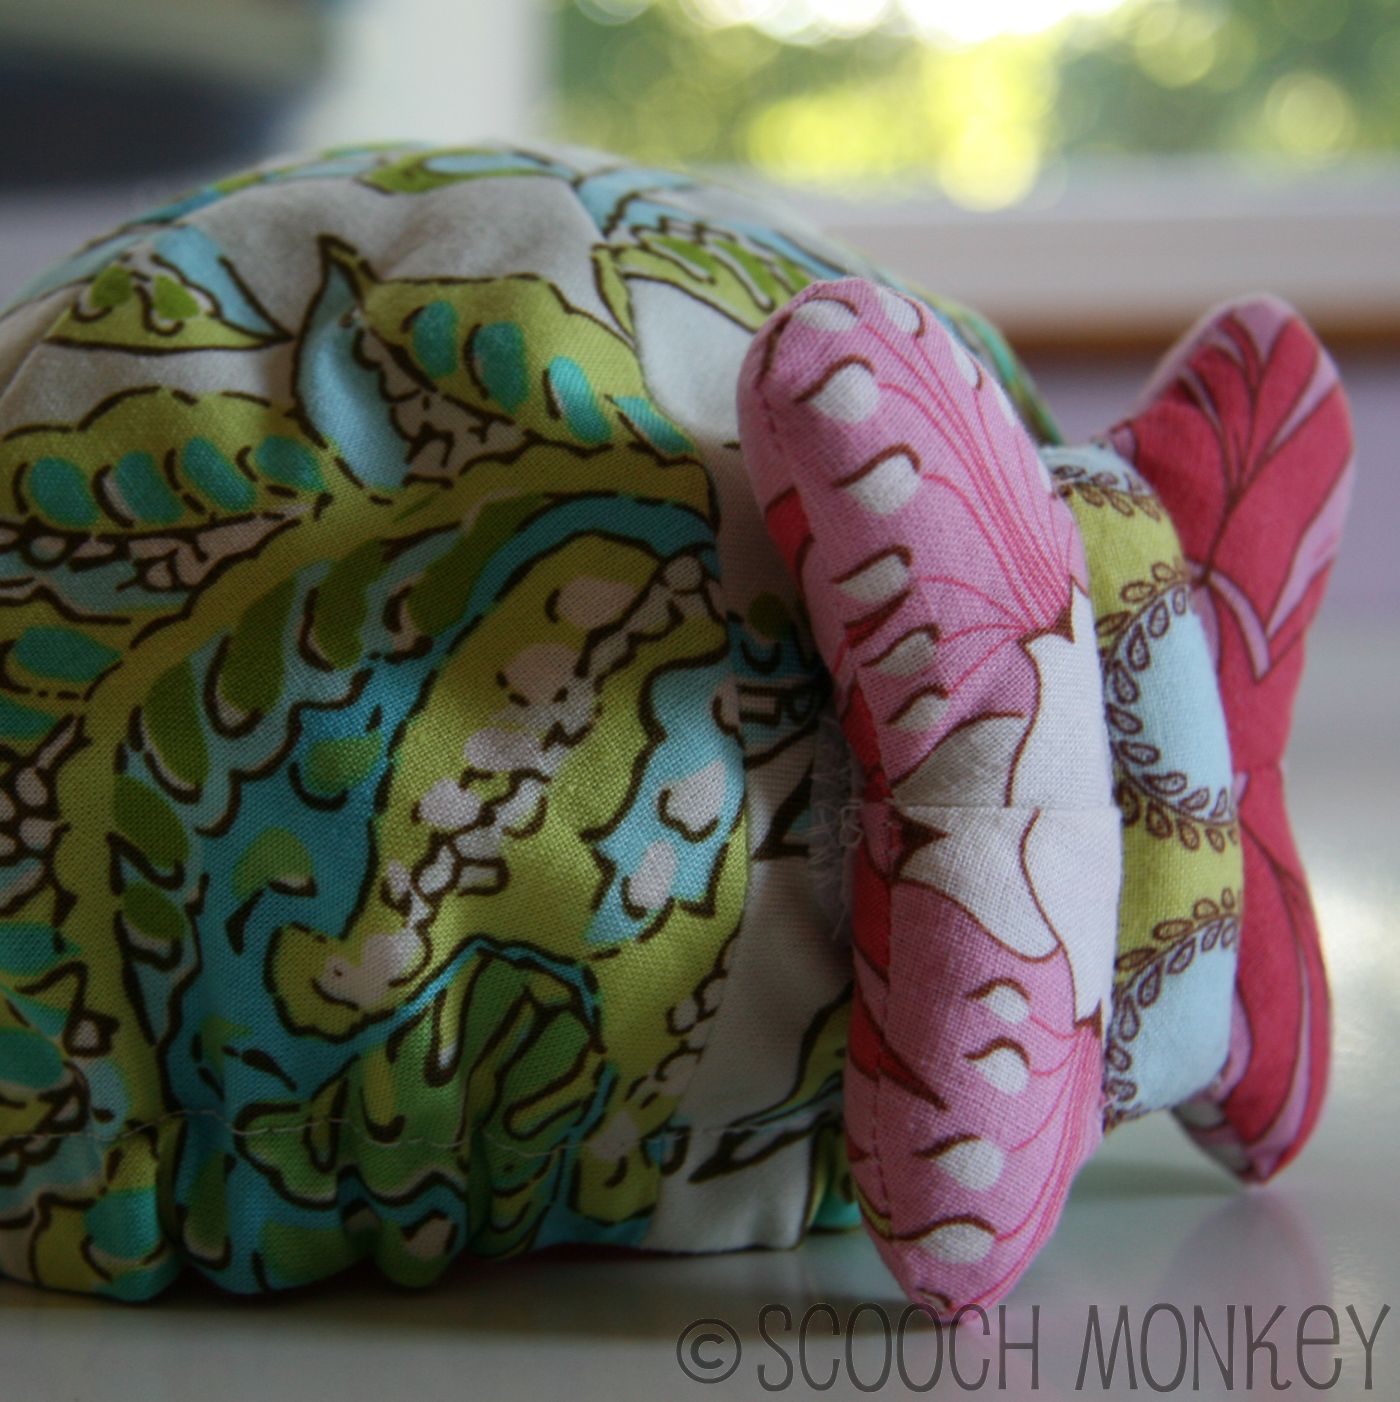
This little hat is cute, and I'm so glad I figured out a way to sew the points where they all line up perfectly!!  I might just have to do a tutorial on that actually...  The butterfly isn't my favorite, but I think the biggest reason for that is because I put the wrong side of the velcro on the butterfly portion.  Have you ever tried to stuff toy filling through an opening flanked with velcro (the scratchy side)??  Oy!


Tomorrow is the final day of Baby Week.  I hope you've enjoyed it as much as I have.  I'll do a review of the week and I'll show off the final piece (a baby blanket), and show how I wrapped it all up to send off to my family.

Wednesday, September 21, 2011

baby love, day 3: relaxing eye mask and clothing tags

This week is all about the baby gifting.  My SIL is having a baby, maybe now!, and I wanted to spoil my new little niece the best way I know how: handmades!


Today's gift is all for Mum though.  Time to relax is hard to come by as a mum, and when you add to the number of children you have, that time gets even more precious and hard to find.  So, to help make the most of those fleeting moments, I made the eye mask from Sew Liberated.  I used bits of satin I had leftover from a 30's style dress I made several years ago, and several other scraps.


The pattern called for flax seed, but I could not find flax seed here in the UK.  I ended up using something that can be found in great abundance here, lavender.  There are so many lovely lavender farms here, and what better way to relax.  Since my big bag of lavender arrived, I've been really enjoying walking into (and staying in) my studio.  It's one of my favorite scents.


I didn't care for the design on the eye mask in the book, so I came up with my own, which I quite like.  I actually hand-appliqued this too.  I was afraid I would really mess it up on the machine with such small curves, so I did it all by hand.  I don't have any thimbles here (I have no idea how they could have become separated from the rest of my sewing gear in the move, but hopefully they'll turn up again someday), so I ended up with a really raw finger by the time I was done, but worth it!


You've been looking at photos of tags with my new logo all week, and I said I'd let you know how I made them.  It's really quite simple!  A friend of Mr. R made the logo for me (Thanks, Pete!), and I took the image, shrunk it in GIMP (which is free) to the size I wanted (you could also use Picnik).  Then I created plain old address labels in MS Works (yea, I can't even afford MS Word).  Paste the image in the label, finagle the spacing a bit to get the image where you want it.  After some thought, I bet you could do this in a spreadsheet too, and perhaps have even more spacing flexibility.  Next, print it out on printable fabric.    I used Crafter's Images Silk Habotai that I found here (scroll down to find it).


Here's my take on THIS particular fabric (forgot to take photos of the process, sorry).  I've never used any other so the following is specific to THIS brand.  I think it's a great tool for crafts that you will not wash.  The fabric is super soft and lovely and sews surprisingly easily.

I test printed with regular settings, and then with photo settings.  The photo settings bled a great deal more than the regular, general/everyday-use printer settings.  I let the fabric dry over 24 hours.  It's not necessary to wait this long, but since the labels will be put on things that will be washed, I wanted to let the ink set for as long as possible first.  When the ink is dry, peel off the paper backing.  I thought this would be hard since there is no tab or corner left to grab onto, but the fabric separated from the paper quite easily.  Then you rinse the fabric to get the excess ink off and to pre-shrink the fabric.  The fabric frays a little when doing this, so I recommend not cutting up your tags until after this step.

After rinsing I dabbed the fabric between some paper towels, and then ironed dry.  I used my rotary cutter to cut them to the sizes I wanted, then pressed the edges over, and sewed them into the pieces I made.

Now here's the tricky part.  This fabric states that it's washable.  That was something I specifically looked for when choosing a printable fabric.  However, it's only hand-washable.  Several online shops that carried this fabric didn't mention that.  So I tested it myself, and here are the results:
Warm wash, normal agitation: all colored ink is washed out, black ink remains
Cold wash, normal agitation: colored ink faded slightly, black ink still crisp
Cold wash, gentle cycle: colored ink barely faded, black ink crisp

So, with normal use, the labels won't last long.  Luckily, this batch of labels is going to family, and I think they'll be able to remember who made them.  Looks like I need to save my pennies in order to purchase the woven labels that I've had my eye on for months now.


Update: Since first writing this, I decided to try facing the labels.  This time I didn't rinse the fabric after the ink had set.  After peeling off the backing paper, I ironed the entire sheet with a steam iron on high - you'll see the sheet shrink up a good bit when doing this.  Then I ironed on some lightweight fusible interfacing on the back.


It really helped to keep the labels from wobbling around when cutting them, and made it easier to press the edges under.  It did take a little away from the beauty of the silk, but they're still soft and pretty.  I haven't tried washing any yet to see if the interfacing helped with the colorfastness issue, but I'm guessing it didn't.


Anyway, it's a good cheaper alternative to the pricey (yet very lovely) woven labels that I will continue to swoon over until I can own my very own. *smile*

Tomorrow: dress, hat and bloomers

Tuesday, September 20, 2011

baby love, day 2: diaper clutch and burp cloths

More baby gifting today.  My SIL is having a baby any day now, and now that they've received their goodies, I can share them with you all!


I made a diaper clutch from a tutorial I found here.  Nice and quick and simple.  I would have changed a few things about this if I was making it for mysef, but you never know how someone else will use it, so I left it as is.  It pained me to cut up my beautiful Amy Butler fabric for something that will carry diapers, but I'm glad I did, it's so pretty, don't you think? *grin*  The inside is a striped fabric I had leftover from my laptop sleeve I made about a year ago.


Another thing I LOVE about my new sewing machine (sorry, I just canNOT stop talking about how great it is) is how well it handles sewing over uneven materials, like velcro.  The stitching is so even and tight and lovely.


This was probably the biggest splurge I made, for something that's going to wipe spit-up and drippy chins and noses...  hmm...  I couldn't resist though.  Every little girl needs to know about The Princess and the Pea.  I used Rae's tutorial here, and used Heather Ross's Princess and the Pea fabric from her FFA line.  The other side is a super soft knit I had leftover from making baby wipes for my son.


Super quick, super easy, LOVE the result.  And, since I was afraid the knit would pull and result in puckers, I used the walking foot on my sewing machine.  Whoa!  If this hadn't come with my machine, I might not have bought it yet (even though it was on my wish list), and that would be tragic, because it is a wonder-tool!  Everything stayed nice and flat with no stretching or puckering in sight!  I might never go back to a regular foot!  Okay, so I have already, but this foot is amazing!


On deck for tomorrow:  eye mask and clothing tags